Lighting Techniques

Lighting Techniques


Capture Your Culinary Creations: Lighting Techniques
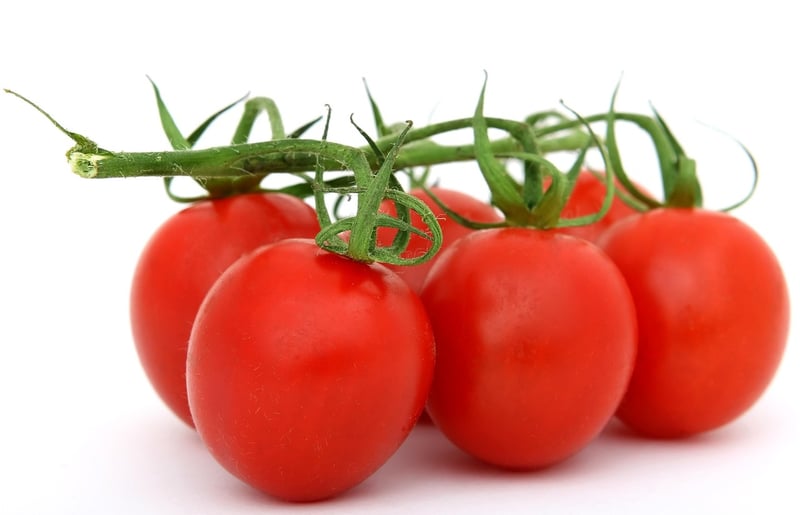
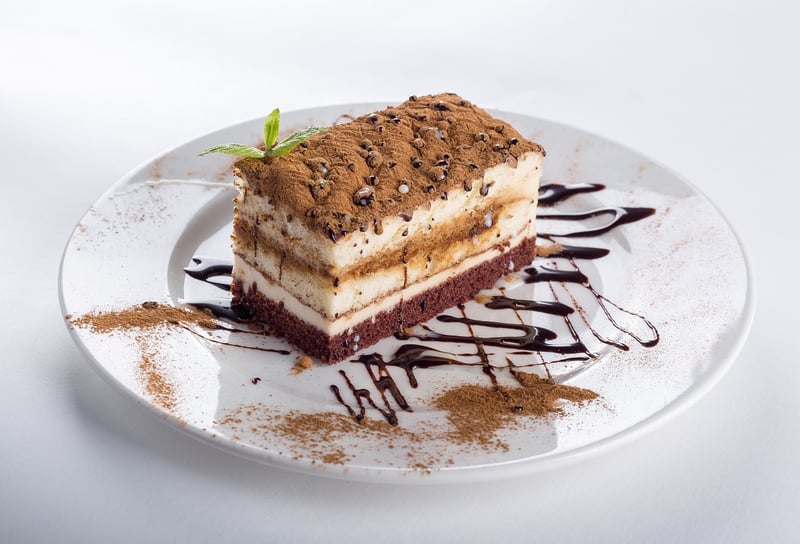
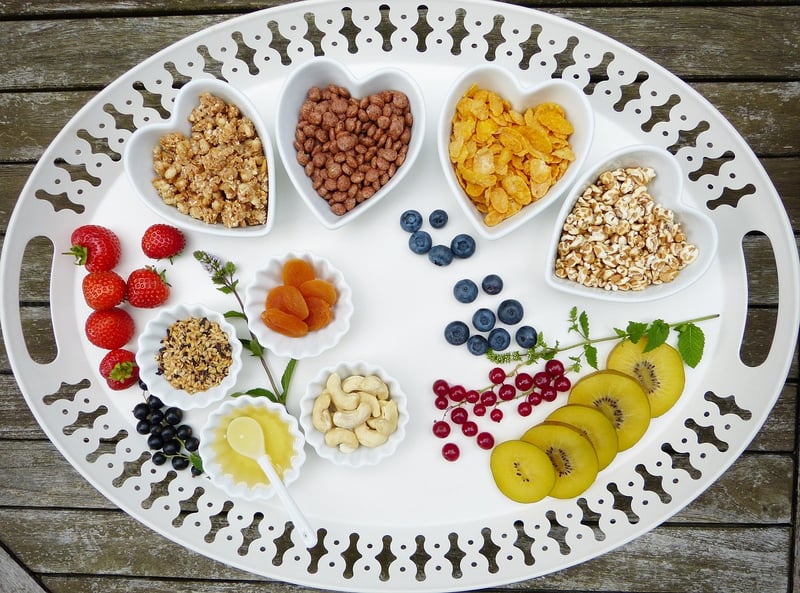
When it comes to showcasing your culinary masterpieces on social media or your blog, the right lighting can make all the difference. Capturing your dishes in the best light not only highlights their deliciousness but also adds a professional touch to your food photography. Here are some lighting techniques to help you beautifully capture your culinary creations:
1. Natural Light is Key
One of the best sources of light for food photography is natural light. Position your food near a window or outdoors to take advantage of soft, diffused natural light. Avoid direct sunlight as it can create harsh shadows and blown-out highlights.
2. Use Reflectors or White Foam Boards
To enhance natural light and reduce shadows, consider using reflectors or white foam boards to bounce light back onto your dish. Place them opposite the light source to fill in shadows and create a more balanced image.
3. Experiment with Artificial Lighting
If natural light is not available or sufficient, experiment with artificial lighting options like softboxes or LED panels. These can help create a consistent and controlled lighting setup for your food photos.
4. Play with Shadows for Dramatic Effects
While harsh shadows should generally be avoided, strategically incorporating shadows can add depth and drama to your food photography. Experiment with the angle and intensity of light to create visually interesting compositions.
5. Consider the Time of Day
The time of day can significantly impact the quality of light for your food photos. Early morning or late afternoon typically offer softer, warmer light that can enhance the colors and textures of your dishes.
By incorporating these lighting techniques into your food photography, you can elevate your culinary creations and make them even more enticing to your audience. Experiment with different lighting setups and find what works best for showcasing your dishes in their best light!